Return to Table of Contents
Editing existing content
Drupal is the content management system we use for the Tisch website. When editing already existing content there are two ways to navigate Drupal, the Website view and the Content view.
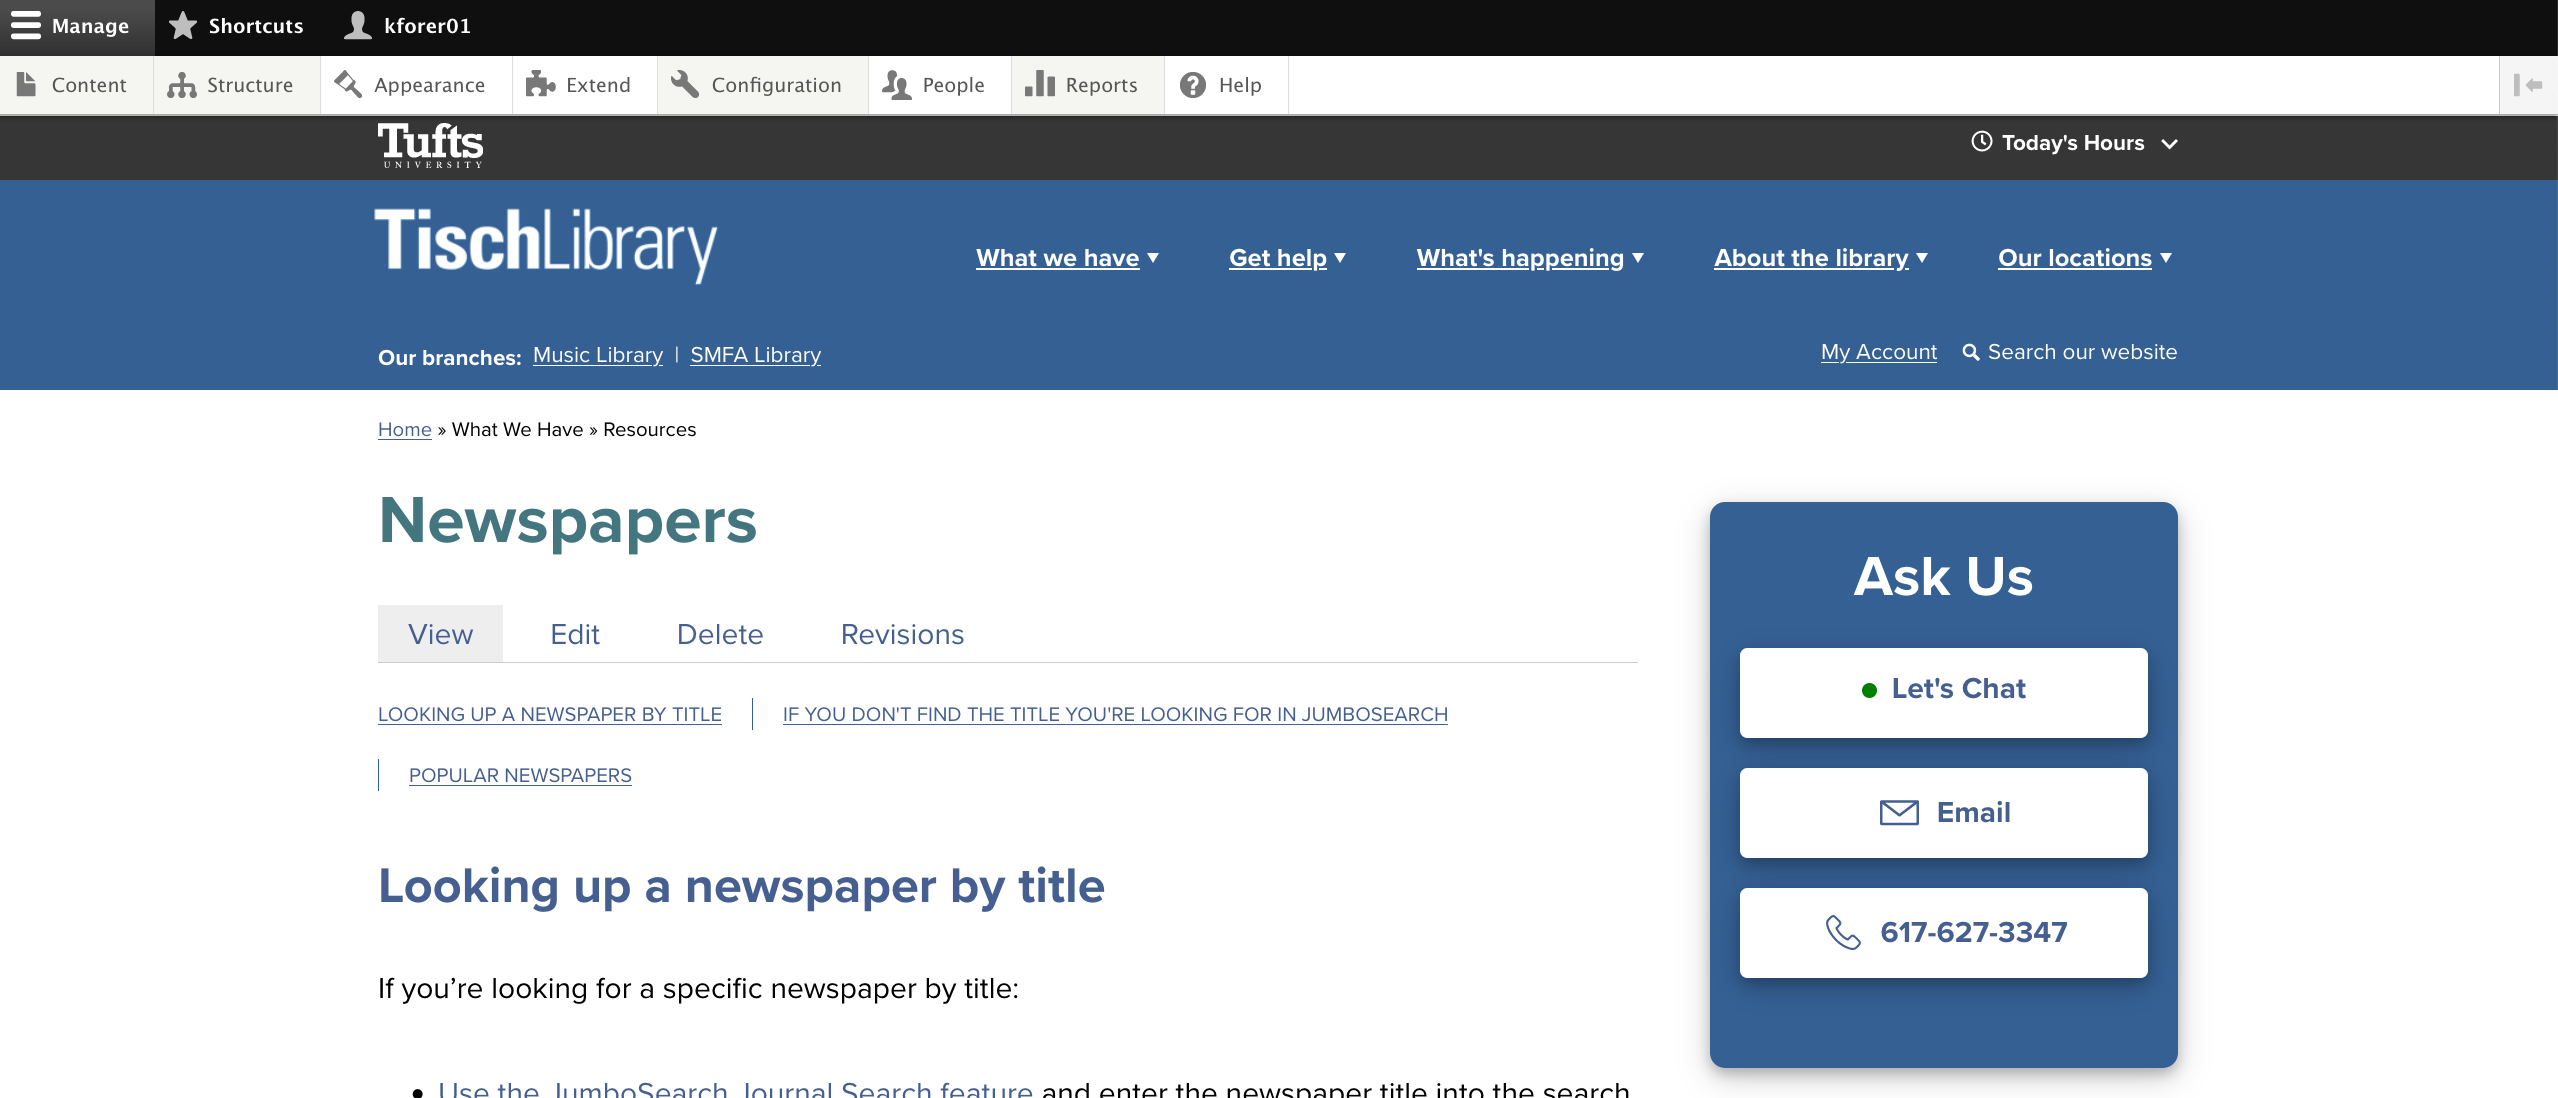

The Website view allows you to navigate the website the way a user would. The Content view allows you the ability to filter content in numerous ways, e.g. published status or content type. It also allows you to create new content. How you navigate Drupal depends on what works best for you and what you are trying to accomplish. Certain areas of the site can’t be directly edited by content authors. Find out more in the What can be edited vs. what can’t section.
Moving between views
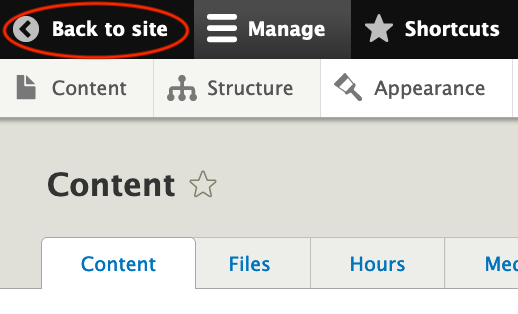
If you are in the Content view, you can switch into the Website view by selecting the button in the top left corner labeled Home or Back to site.
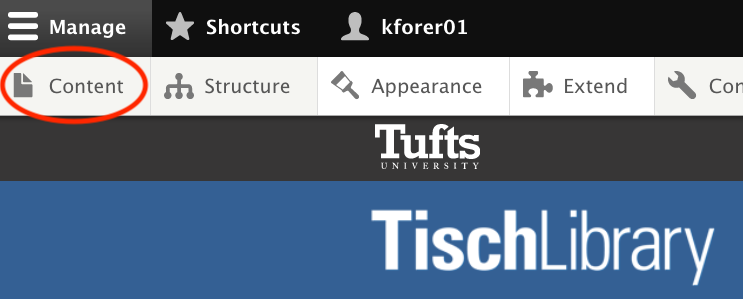
If you are in the Website view, you can switch into the Content view by selecting the Content menu button in top menu bar.
Finding and editing content using Content view
- Login to the site. After logging in you will by default be in Content view.
- Use the search bar or drop down menus to filter to the page you wish to edit.
- Find the page by looking through the Title and Content Type column.
- Follow the row to the corresponding Operations Edit button.
- Click Edit.
- Save when finished.
Finding and editing content using the Website view
- Login to the site. After logging in you will by default be in Content view.
- Switch into the Website view by selecting the button in the top left corner labeled Home or Back to site.
- Navigate to the page you wish to edit.
- Select the Edit tab.
- Save when finished.
Revisions
Each time a page is edited & saved, Drupal automatically creates a revision record. You can access them from the Revisions tab on the View, Edit, Delete, Revisions menu. If you need to revert a page to an earlier version, you can choose an earlier revision record and the page will display the content as it was at that time.
When you make changes to a page, consider adding a revision log message that explains the change you made. This will be helpful if the page needs to be reverted to an earlier version in the future. For example, if we are temporarily changing a service, you can enter the updated information on the page with a revision log message explaining that you are entering temporary info about a service. When we return to the normal version of that service, we can simply revert the page back to the original version.
Editing branch library homepages & the DDS
While there are differences in the styling of the branch library homepages and the DDS page, they are comprised of similar elements. This means the process for editing the majority of content areas on these pages is the same. For the purposes of this example we will use SMFA. Content areas specific only to the DDS are listed separately.
Content at the top of the page
The text at the top of the page under the branch name is editable when logged in and in the Y view of Drupal. Simply select the Edit tab to modify.
Hours
Hours for each library are pulled from the hours listed in Libcal. To learn how to modify these see our Editing Hours in Libcal documentation.
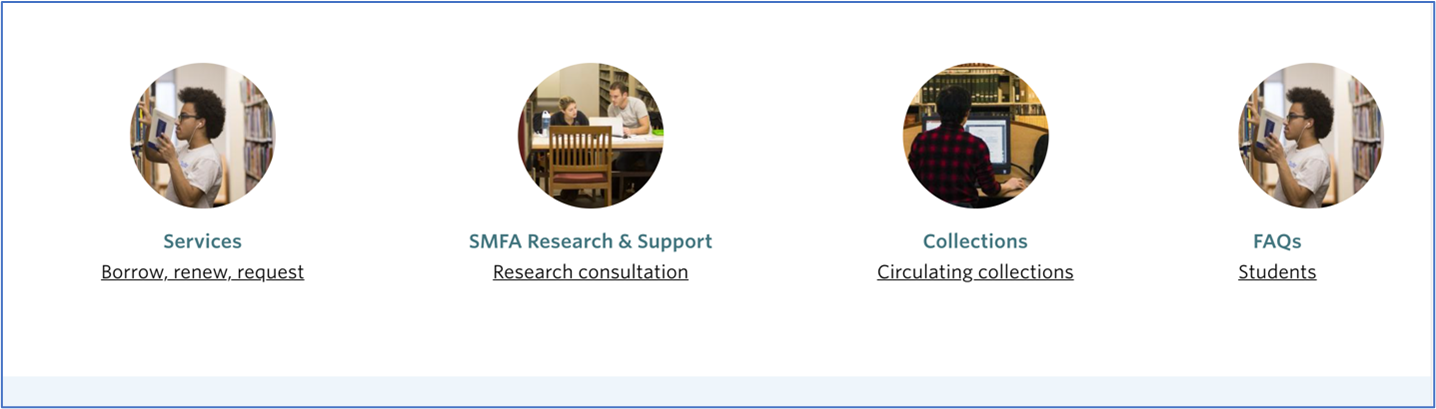
Task section
The task section is the area with circle images and quick links just under the Jumbosearch bar. Everything in this content area can be edited, including the photos. DDS has two areas that use this function, DDS Services and What are you making? areas. They both still follow the process detailed below for editing.
To add a new link in the task section:
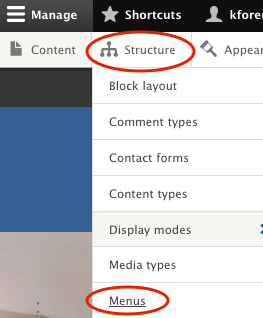
- Go to "Structure” -> "Menu" in the top menu bar.
- Find “Music tasks", "SMFA tasks” or "DDS services/makers" in the title column and click the corresponding Edit button in the Operations column. This will take you to the Edit menu.
- To add a new link, click the blue “Add link” button. Enter the "Menu Link Title", "Link", and link "Description" (if desired). Under the “Parent link” section, select the header to nest the link under.
- To modify a link, find the link under the Menu Link column and selecting the corresponding Edit button for that row. Edit the link and save.
To edit the images in the Task section:
The images in the Task section are connected to each header link, e.g. Services, SMFA Research & Support, etc.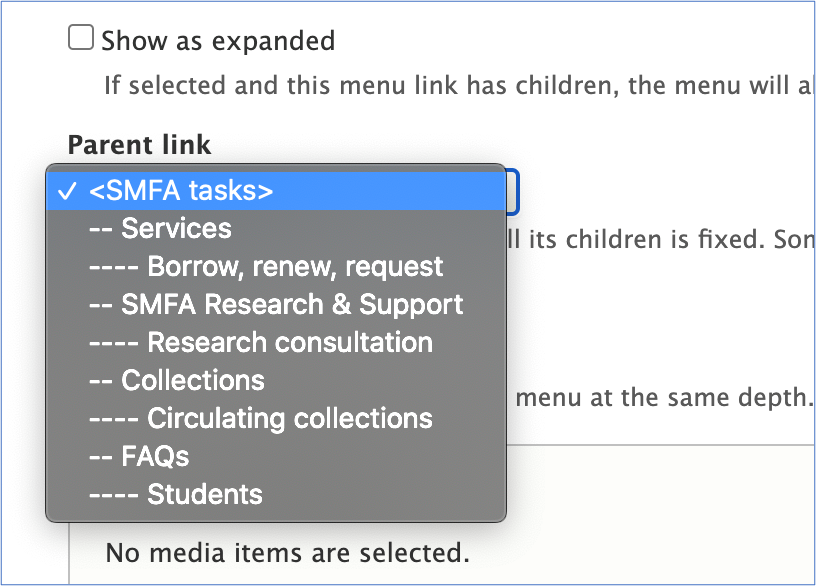
- Go to "Structure" -> "Menu" in the top menu bar.
- Find “Music tasks", "SMFA tasks” or "DDS tasks" in the title column and click the corresponding Edit button in the Operations column. This will take you to the Edit menu.
- Navigate to the header link you wish to edit. Remember images are associated with the top nested links, i.e. Services, SMFA Research & Support, Collections and FAQ.
- To edit/add a new Task image, edit the menu link of header of the section you want to change.
- Scroll down to the “Front task image” area. You should see the image I added as a placeholder. To change this, delete the current image by clicking the “X” on it. Upload a new image or select one from the media library.
- Do NOT add an image to the lower level menu links
Highlights and Collaborations
The “Highlights and Collaborations” area pulls in content of the type “Explore Tisch" & "Exhibits”. The "Explore Tisch" and "Exhibits" content types have a field at the bottom that allows you to promote content onto the branch library landing page. Simply select the branch library page under “Location to promote” and ensure “Promote to front page” is checked. This is under “Promotion Options” menu on the right side of the page.
- These content types can be shown on the branch landing page and on the front page of Tisch. They can also be cross promoted across various pages, e.g. DDS, Music, SMFA.
- Booklists are also within this content type.
Everything else
Ask Kate to edit
DDS only content areas
The content listed below is only found on the DDS landing page.
The "...we can build for you..." section, AKA staff
The section pulls in staff tagged with DDS as their department.
- You can edit staff info (like titles, pronouns, image) on each individual staff page. Note, the info will also change on any page that shows staff info, like the staff directory or ask a specialist page.
- For now, you will have to send Kate any text changes to the content above people’s images.
Contact the DDS
- This area is a custom block. You can edit the title, text and images here: https://tischlibrary.tufts.edu/block/2?destination=/admin/structure/block/block-content
- Note, the blob-like borders of the images are applied with css, you do not need to recreate this yourself
Return to Table of Contents